


After the Catch
 After the Catch
gearweare.net
After the Catch
gearweare.net
With as much fun as fishing is, there is much reward to be had from the steps you can take after the catch. I appreciate and enjoy the sport of fishing, but enjoying the fish as a meal is a whole other experience for me. From the first time we went fishing together, I have taught my son, nieces, and nephews how to stringer, clean, cook, and preserve the fish. They always seem fascinated and repeatedly ask for a repeat of the experience.
Some people feel that these post-catch steps are the ‘dirty work’ of fishing, or that they are gruesome or cruel. However, with a deep respect for the animal you realize that it should never be injured or die for sport alone if it can be avoided. Plenty of fishermen are careful with their catch-and-release practices, but for me I feel better knowing that my catch is feeding my family.
In this article I will cover the additional steps you can take with fish after your initial catch. It will be a step by step guide to each of these steps. Hopefully it will help you with the process and encourage you to take further steps with the fish you catch.
Table of Contents
Keeping Fish Alive
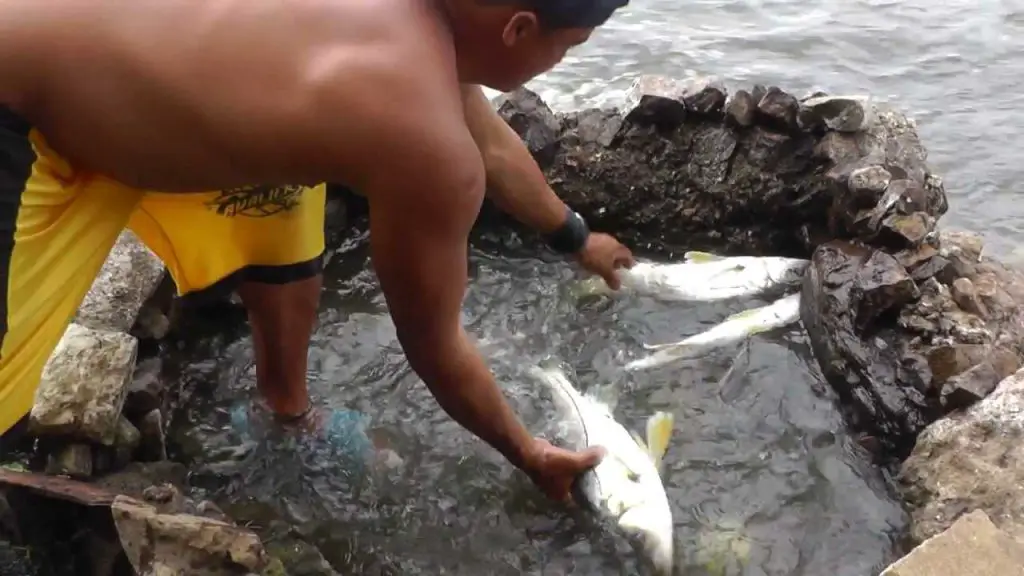
The key to great tasting meat and prolonged freshness is keeping your fish alive after the catch. In a perfect world, you want the fish alive until you sever its spine or filet it. For this to work it needs minimal blood loss, no damage to vital organs, and cool water with oxygen. Here are some steps you can take to help keep your fish alive.
- Use larger hooks. Larger hooks will be less likely to be swallowed by the fish and more likely to hook the lip of the fish.
- Be careful when removing the hook. If the hook is deep in the throat of the fish or anywhere other than the lip, use needle nosed pliers and find a way to hold the fish still. You need a good view of the hook, so the fish needs to be vertical. Be cautious when removing the hook so you do as little damage as possible.
- Handle the fish as little as possible. Many fish have a mucus on their scales that can hurt the fish when disrupted. Also, avoid holding the fish by the gills.
- Use a live well or make one. Live wells keep water flowing in and out which creates a similar oxygen level to when the fish is free. You can also cut one inch holes on both ends of a five gallon bucket with a lid and tie it to something solid. The water will flow in one end and out the other simulating the current of a stream.
- If you stringer the fish, do not go through the gills. This is actually a common practice and can cause the fish to die sooner. Poke a hole through the soft spot in the bottom jaw. This spot will not bleed and will not affect the health of the fish.
Cleaning the Fish
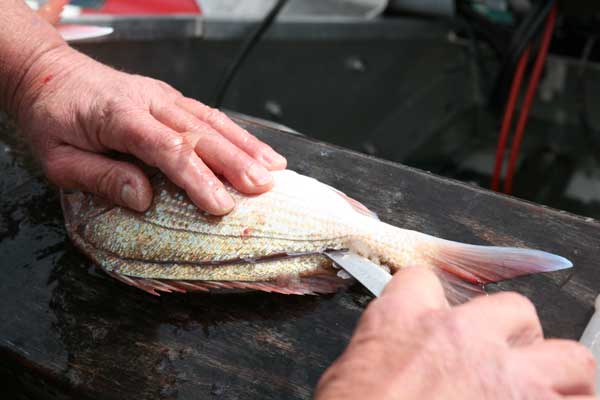
Cleaning fish takes a little time to get accustomed to, but it can be quick and easy with practice. Here is a simple process to follow. You will need a long filet knife with a flexible blade and a sharp point.
Step 1 – Gut the fish by holding it belly up in one hand and inserting the point of the knife at the base of the belly. Only cut deep enough to pierce the skin. Then, with the blade facing up and towards the head, slice open the belly to the head. Put down your knife and pull out all the guts in the chest cavity. I like to have a stream or bucket close by so the guts are underwater and do not attract flies.
Step 2 – With the fish lying horizontal to you, make a vertical slice to the spine just below the pectoral fin. I like to make mine in a backwards ‘C’ shape to get the extra bit of meat above and below the dorsal fin.
Step 3 – Hold the head with one hand and slide the knife along the spine towards the tail. There will be rib bones to sever, so keep the spine on the thicker part of the blade. Go slowly to get as much meat off of that side as possible. Repeat this process on the other side.
Step 4 – Individual preparation. I fish mostly for bass and do not care for the skin or ribs. At this point I lay the filet with the skin facing down. I move it to the edge of the table and start the blade right between the meat and skin with the blade facing outward and flexed against the cutting board. I then hold the skin and slide the blade along it slicing the filet cleanly. I cut just under the ribs to remove them and am left with the filet. In some fish you can almost dissolve the ribs with a hot skillet, and the skin is fine to eat in many cases. Depending on the fish, you may want to scrape the scales off the skin with your knife before cooking the filet.
Freezing the Fish
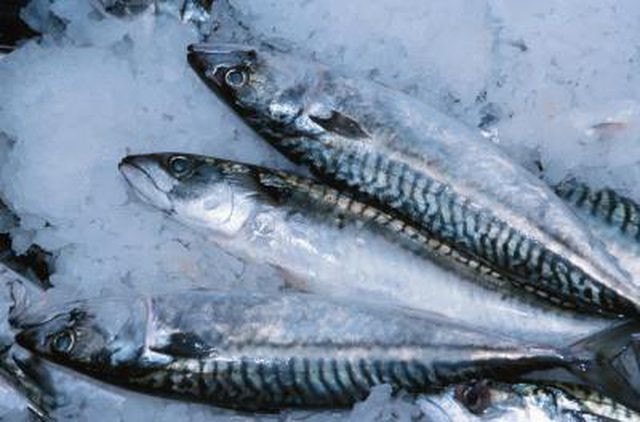
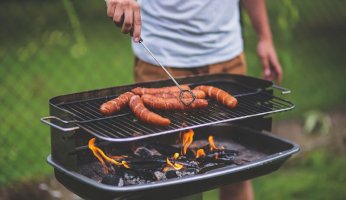
I always prefer to eat my fish fresh. In fact, many times I will forgo a more refined preparation in order to eat the fish right on the shore. You can always just gut it, add some lemon and butter, wrap it in foil, and throw it on the grill or fire. You can also take a bag of flour and corn meal with you. Dredge the filets and sear in a little oil for a shore lunch you will never forget. However, most of my fish goes into the freezer.
There are two primary ways to freeze fish. You want to remove air so that the meat will last as long as possible. I have absolutely no problem freezing my fish for six months with these two methods.
If you are willing to spend a little money, a vacuum sealer is a great investment. This machine sucks all the air out of the package and seals in the freshness. You can also add herbs or lemon to infuse the flavors into the fish. The main benefit is that the fish take up little space in the freezer.
You can also freeze your fish in salt water. This is actually how I froze all of my game meat for a long time. You need a good mess of fish to make it worth the space it takes, but it works well. Simply put your fish in a zipper bag, add water, and add some salt. Seal the bag and set it upright in your freezer. Be aware that water on the outside of the bag could freeze it to the bottom, so dry it well. You want about 80% fish and 20% water in your bag.
Hopefully these tips will help you get the most of your next fishing adventure. Whether fishing for bass on a farm pond or heading to Alaska for king salmon, this process has added more respect and enjoyment to my fishing process. Thank you for reading.